What we changed
The body, legs and electronics are Luwu's design, unchanged. The head is ours, and so is the way the parts are laid out for printing.
A face that comes off
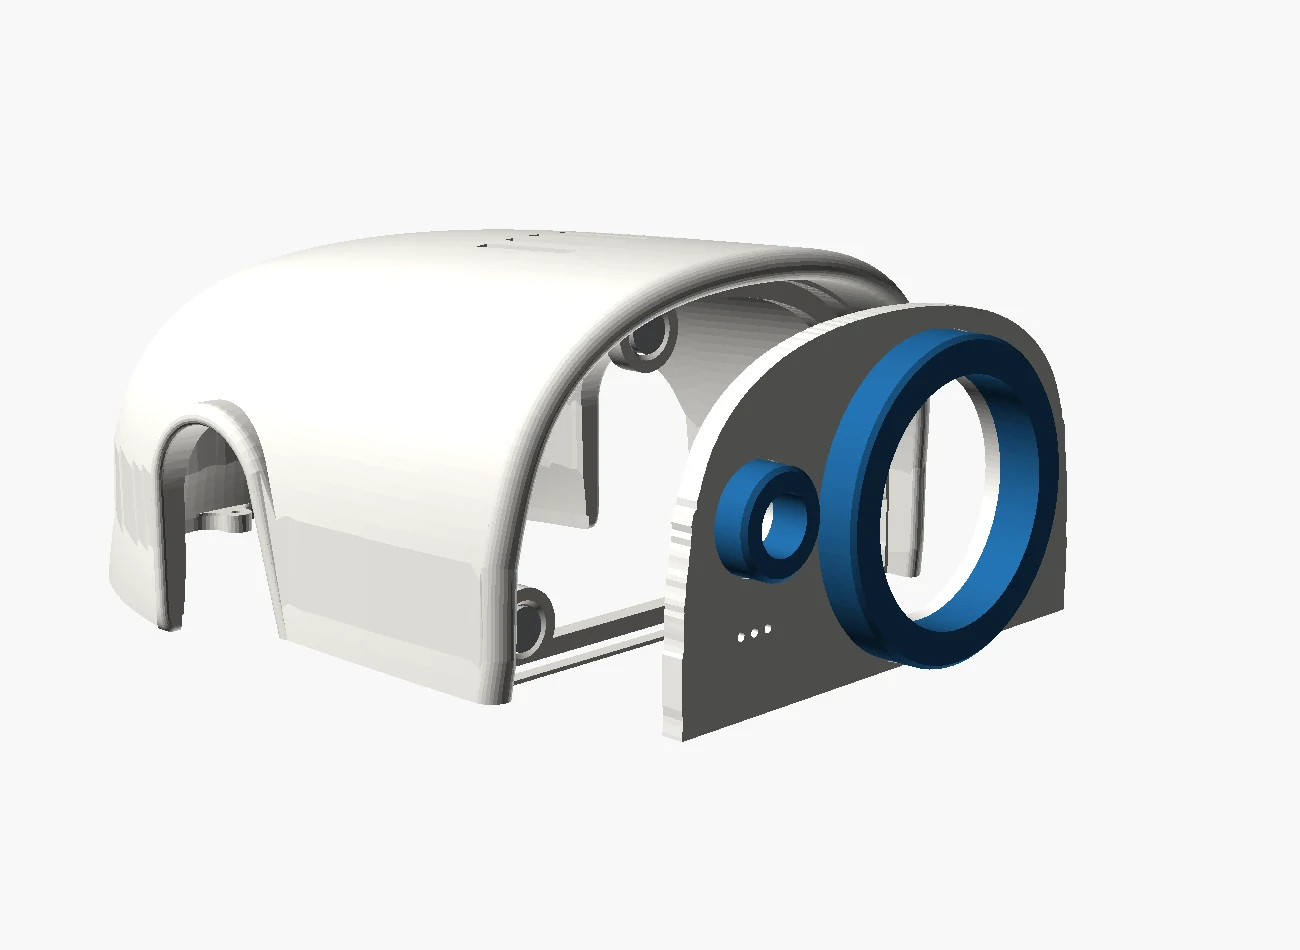
The standard head is a single shell with a printed eye. We split it into a hood that stays on the robot (H1) and a face plate that drops into its front opening (H2), with a blue eye ring and camera ring glued on (H3).
- The hood is Luwu's head shell made 10 mm taller, with an open face, a 3 mm ledge inside the rim for the face to sit on, and five speaker slots on top. It still fits the standard grey head plate, bill and beak.
- Three 6 × 2 mm magnets hold each face, in pockets with crush ribs. To take a face off, pull it gently by the eye ring.
- The face has 0.25 mm clearance all round and touches the hood only on the ledge.
- A new face is a short print, so faces can change without touching the rest of the robot.
A screen for an eye
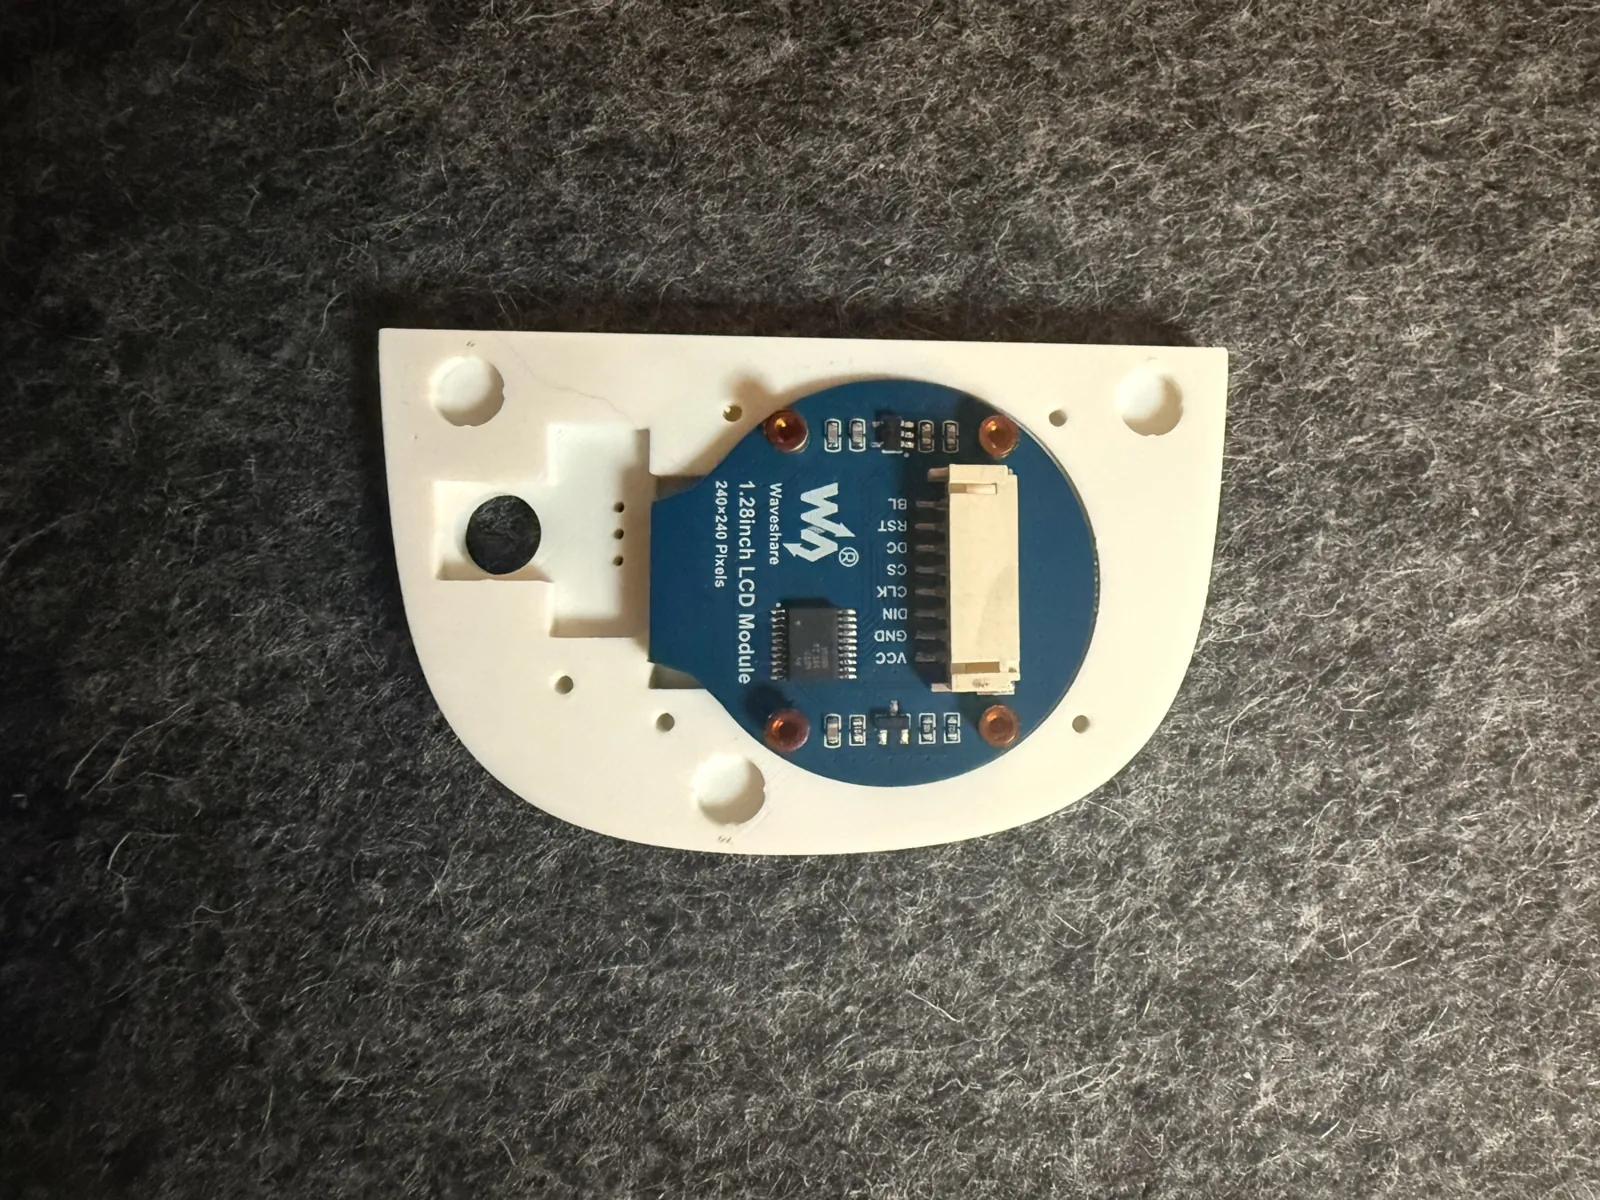
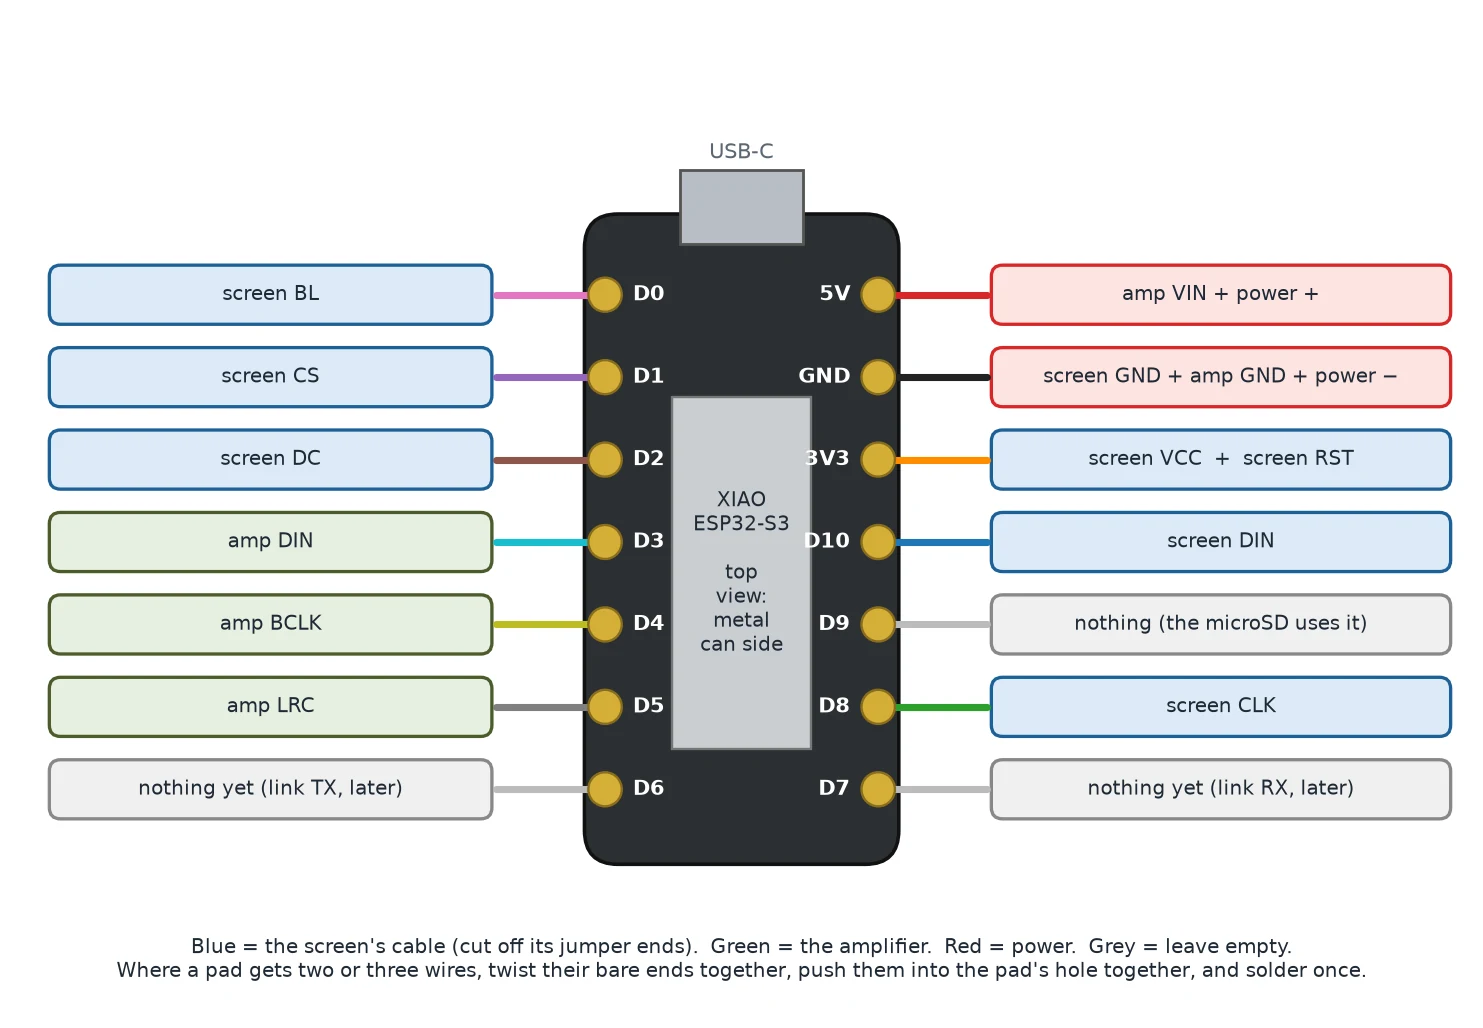
Face plate v1 carries a Waveshare 1.28" round screen (GC9A01, 240 × 240) as the big eye, and a Seeed XIAO ESP32-S3 Sense behind the small window: camera, microphone and Wi-Fi in a board the size of a thumbnail. A MAX98357 amplifier and a 28 mm speaker will sit under the grille in the hood.
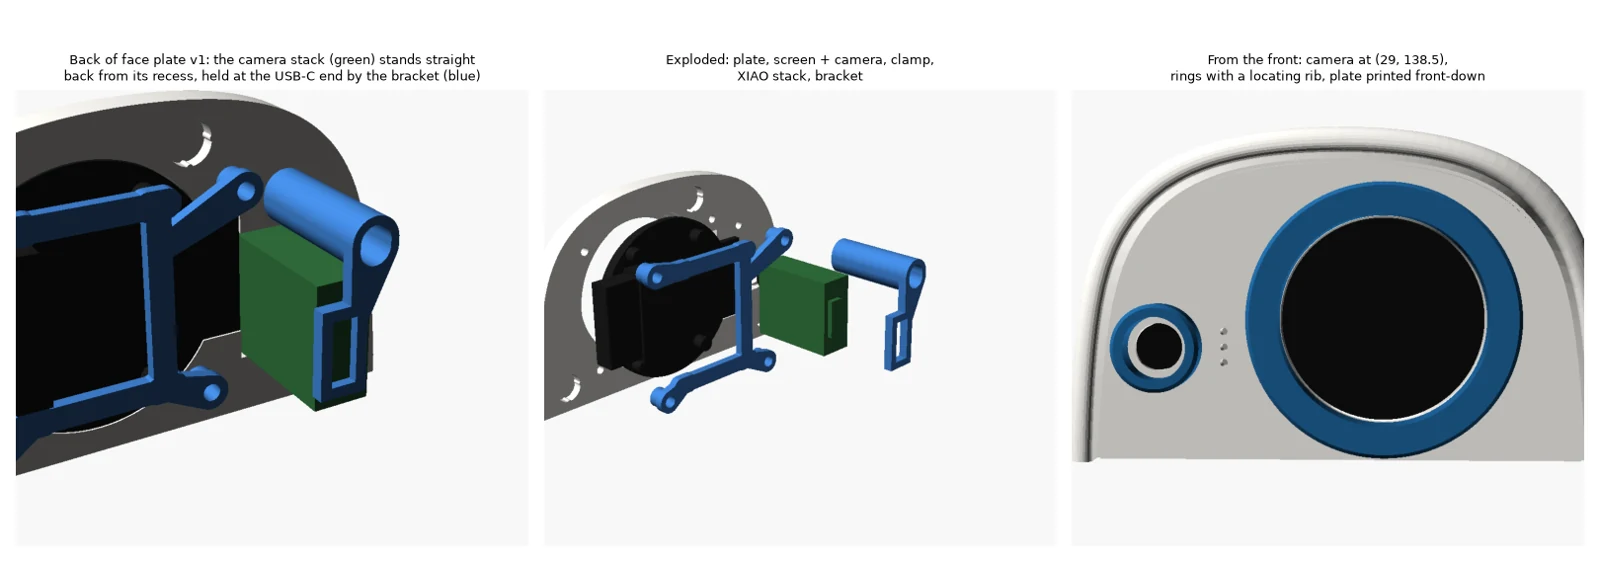
- The screen sinks into a pocket in the back of the 5 mm face, glass against a lip, held by a printed clamp on its four standoffs with M2.3 screws. It sits on its side, so its picture is rotated 90° in software.
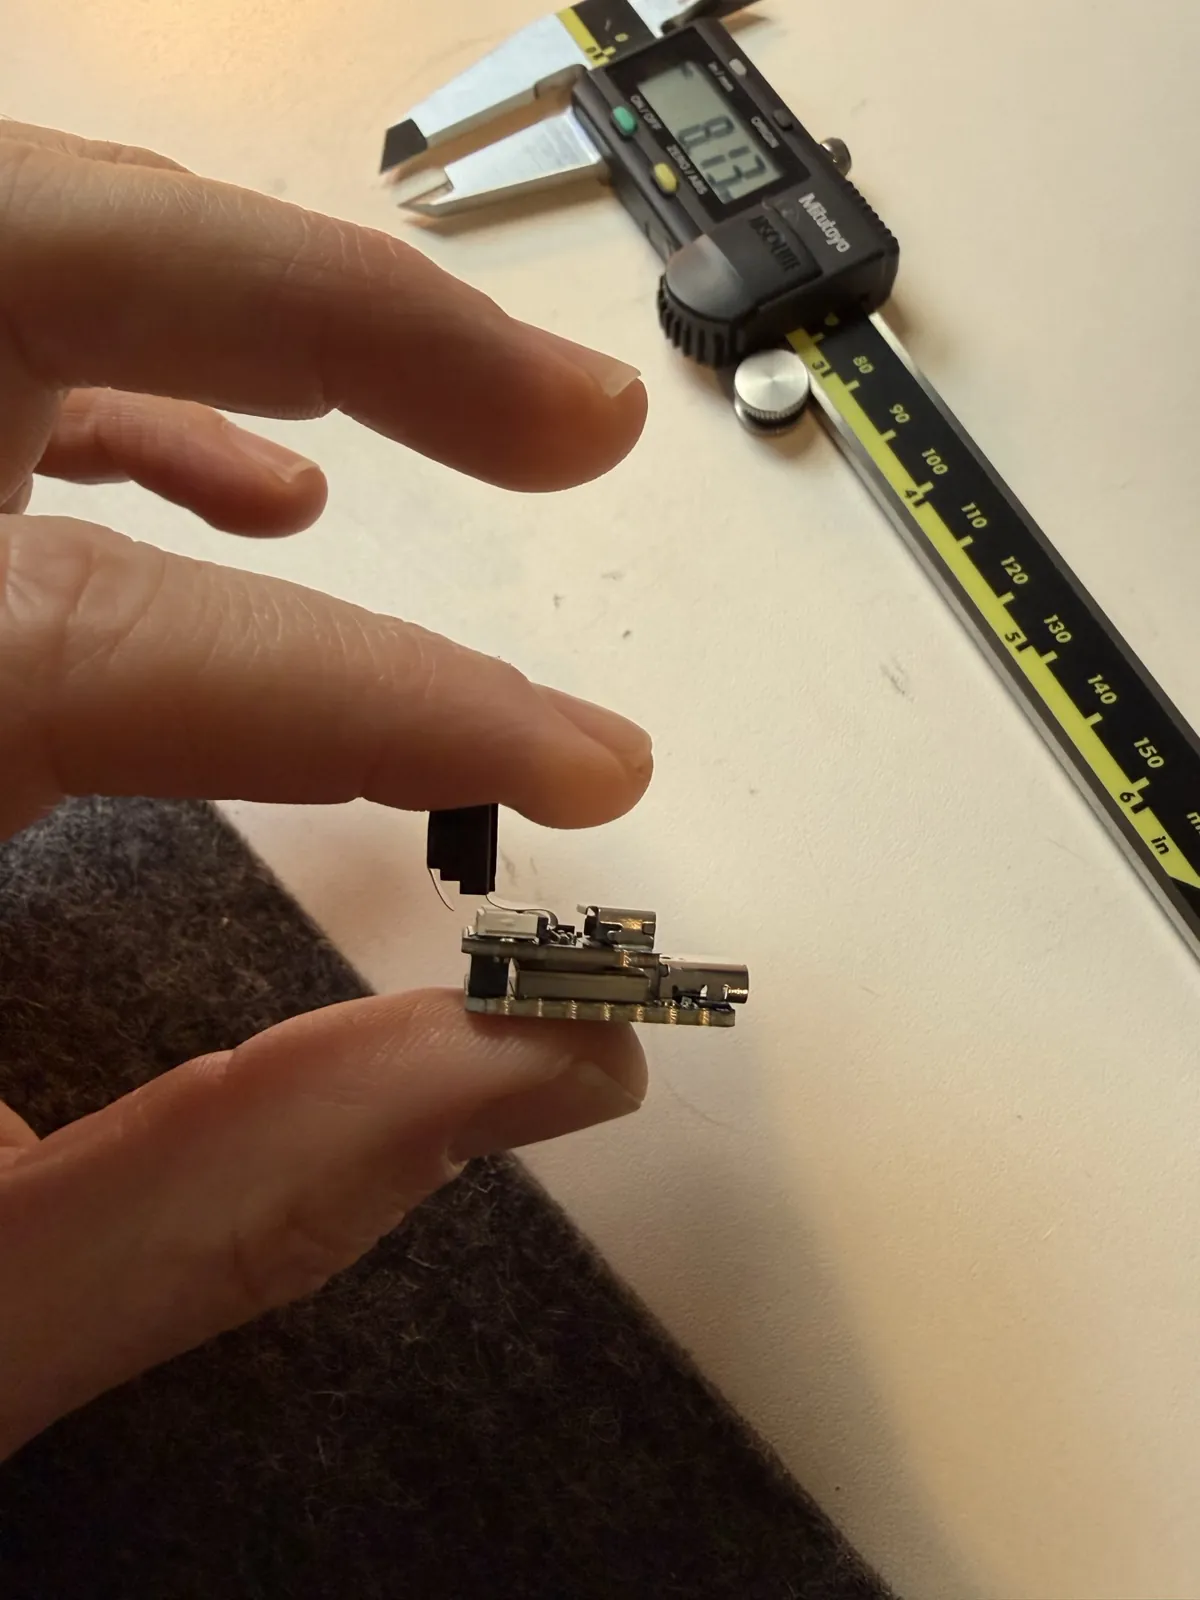
- The camera and XIAO are one unit on a 6.3 mm ribbon. They lie on their side between the eye and the camera window, the only position that clears the hood. That turns the camera's picture 90° as well.
- One screw holds a bracket over the XIAO. Take the face off and undo it to get at the USB-C socket.
- Only power and two data wires go down the neck. A 5 V regulator feeds the head from the battery, so it doesn't load the driver board's own supply.
Still to come: the speaker mount and the route for the wires. The firmware, wiring and servo scripts are on the head's code and wiring page.
A print file tuned for the H2D
We laid every part out as a Bambu Studio project for a Bambu Lab H2D with a 0.4 mm nozzle on each side. It's about 40 hours over 20 plates.
- One big part or one matched pair per plate, so a failure only costs that plate.
- 0.08 mm layers and three walls on the visible curved parts; 0.12 mm, four walls and 40% gyroid on brackets and links. No ironing, because matte filament goes blotchy.
- Supports in the part's own filament with a snap-off gap. No support inside holes up to 16 mm, which print fine as arches. Only the leg links and hip outputs still touch support material.
- Plates that don't need supports don't get any. Each was sliced with supports off and checked for anything printing over thin air.
- A set of checking scripts runs over the sliced G-code after any change: ring-shaped roofs, slender support towers, support feet that would weld on, and anything unsupported.
Every setting, the support rules plate by plate, the seven versions and the checks are on the print file page.
A bench stand for the head
The stand (S1) holds the head and neck by the neck's bottom servo, between two ears copied from the body shells, so the head can be tested before the rest of the robot exists. It has pegs for the UNO Q, a pad with zip-tie slots for the servo test board, and room for the servo to swing right round.
Can I download the files?
Not yet. Luwu haven't published a final licence for XGO-Duck. Their stated intent is to allow personal and educational builds and to ask for permission for anything commercial. Our hood and print file are built from their parts, so we won't share them until Luwu say we can. In the meantime, the original files are in Luwu's hardware repository.