Day 3
Our first face went in backwards
The new head: a taller hood with a face that comes off, held by three magnets. The first face printed mirrored and the magnets fell out.
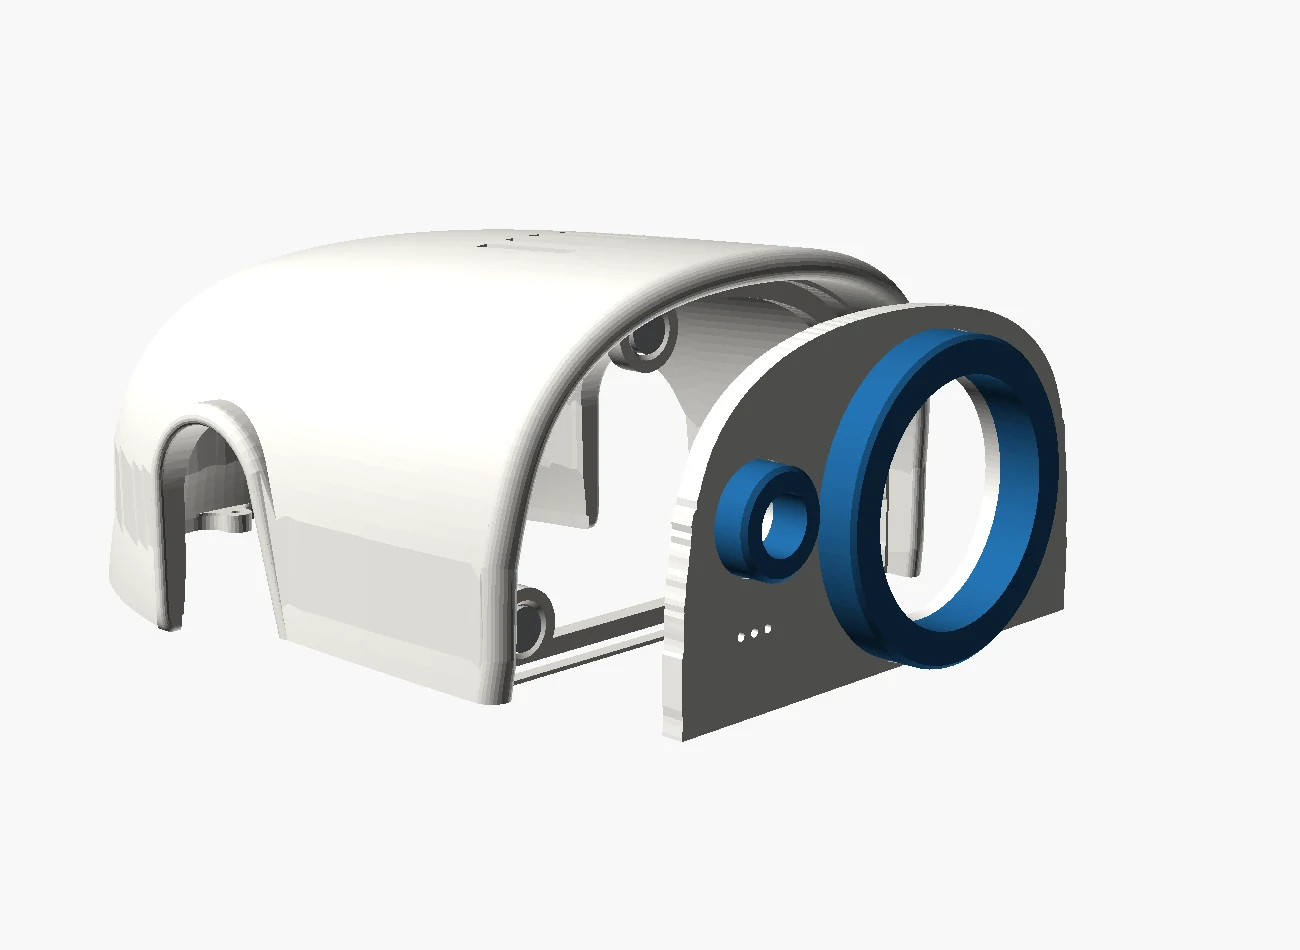
The standard XGO-Duck head is one printed shell with a printed eye. Ours splits in two: a hood (H1) that stays on the robot, and a face plate (H2) that drops into its front opening and comes off by hand. The screen and camera will mount on the back of the face, so the electronics come out with it, and a new face is a 49-minute print.
The hood
The hood starts from Luwu's head shell, made 10 mm taller to fit the screen. The first stretch simply moved every point above one height up by 10 mm. The back of the head curves inwards there, so the triangles crossing that line turned into a band of flat, stepped panels, which Simon spotted in the slicer before anything was printed. The stretch is now spread smoothly over 34 mm of height, and nothing below where the hood meets the head plate moves at all.
The outline of the face opening was traced from the hood's own rim. The first trace had a spike and some stair-steps where an arch on the side of the head interrupts the rim, so it was re-traced by angle round the centre of the face, smoothed, and kept inside the real edge. An early ledge also overlapped the grey head plate underneath by 99 mm³, found by a fit check before anything was printed.
Cutting the face opening had also sliced the inner halves off the two front screw bosses, which were showing as incomplete screw holes from underneath. They're rebuilt solid now, each with one clean pilot hole.
Magnets
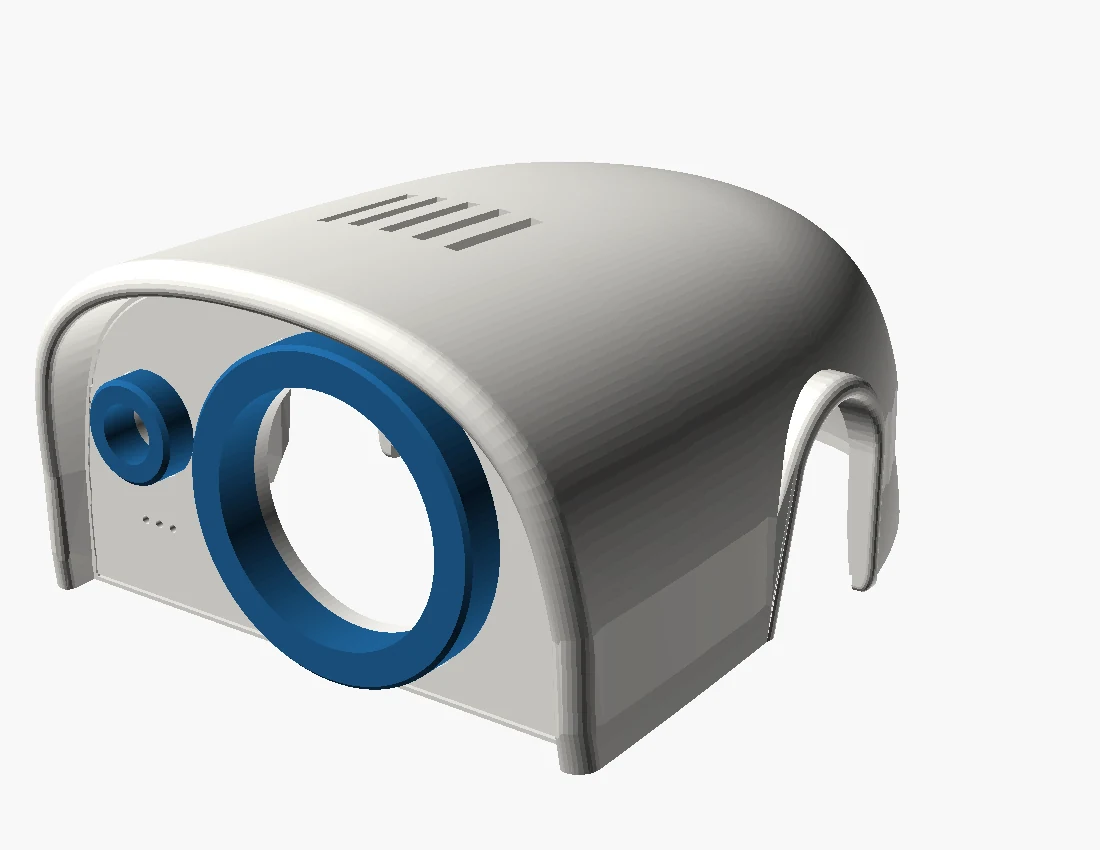
Three 6 × 2 mm magnets hold each face: one in each bottom corner and one at the top, with three partners in the hood. The pockets have crush ribs, four small ribs inside a slightly bigger hole, so the ribs give way rather than the magnet cracking the plastic.
On the first face they didn't grip enough. The ribs only held 1.4 mm of each 2 mm magnet, and the magnets fell out. The face plate's ribs now run the full depth at Ø5.92. If one ever works loose, the fix is two-part epoxy, not superglue, which is brittle and grips nickel plating badly: scuff the magnet, wipe it with isopropyl alcohol, and let it cure with the face off so the other magnet can't pull it out while it's wet.
For anyone designing their own pockets for 6 × 2 mm magnets in PLA, the useful numbers are what the hole comes out at after slicing: Ø5.7 was too tight to press in, Ø5.96 let them fall out, so aim for about Ø5.8. We also built a version with a print pause to seal the magnets inside, and dropped it: pressing them in is simpler, and it works.
Press the hood's magnets in all the same way up. Before pressing in a face's magnets, check each one attracts its partner in the hood.
The face that went in backwards
The face plate is designed lying flat and then flipped into place in the hood, and the flip includes a mirror. The first print used the flat design directly. Because the outline is symmetric, it still dropped in perfectly, which is why it took a moment to notice that the eye and camera were on the wrong sides, and the top magnet pocket was 16 mm away from its partner in the hood.
The print file is now the fitted face turned onto its back: a rotation, not a mirror. That first face is a spare blank.